Its been a crazy month since I last posted anything. But that's life and sometimes it does put things on hold or in perspective.
I have lots of embossing folders and I saw a card when looking thru my emails, (sorry) I don't remember you had it, but I thought I have that folder so I can make the card.
My card is a standard A2 card. I embossed a 4x51/4 piece of white card stock with the Happy Birthday embossing folder. I used some ribbon that was in my stash. I used a flower that I had put together with a flower brad. Very simple card to make. I used some foam tape to raise the Happy birthday embossed card stock. I used a vellum sticker from Anna Griffin, (didn't take a pic of that.)for the sentiment inside.
I'm going to be making more of these cards and use whatever ribbon I have in my stash and flowers. Like I said I have lots of embossing folders so I will be able to make plenty of cards like this.
Thanks for stopping by and taking a look. Have a great Sunday and I will try to post another card tomorrow.
Saturday, September 12, 2015
Tuesday, August 18, 2015
Baby Cards.
Good Morning (2:20 A,M.) I hate when I fall asleep early and then I wake up and can't go back to sleep. Decided to get up and now I'm watching some TV hoping to fall back asleep.
I finally fell back to sleep and now its a normal hour of 8:25 A.M. Much better.
Yesterday I needed some baby cards that My niece had wanted so I decided to make these two.
The first card all the cuts are from the cart BABY STEPS. I pop dotted everything to give it depth. The second card is the inside.
The third card the crib is from 9 months cart. I used my cuttle bug to emboss the crib. Welcome baby girl saying is from the cart Phrases. I used the print and cut feature for that.
Everything was sized in CDS. These are going to my niece for her stash of cards.
Thanks for looking and have a great day.
I finally fell back to sleep and now its a normal hour of 8:25 A.M. Much better.
Yesterday I needed some baby cards that My niece had wanted so I decided to make these two.
The third card the crib is from 9 months cart. I used my cuttle bug to emboss the crib. Welcome baby girl saying is from the cart Phrases. I used the print and cut feature for that.
Everything was sized in CDS. These are going to my niece for her stash of cards.
Thanks for looking and have a great day.
Sunday, August 16, 2015
HAPPY FIRST BIRTHDAY and other things.
Good morning. Its been a while since I posted on my blog. It's been so neglected. This has been a busy summer and its just about over. 3 of my 7 grandchildren are back at school. My son-n-law is almost done with his radiation. Only 4 more to go. Then the next step in this process, will be to make him able to talk again with prostheses.
My oldest grandson was in a car wreck and broke the humouris bone in his right arm 7 places. Below is a picture of his arm before surgery.
Here are the pictures of my finished card. I like the way it came out.
There is a place on the back to write on. thanks for looking and have a great Sunday,
My oldest grandson was in a car wreck and broke the humouris bone in his right arm 7 places. Below is a picture of his arm before surgery.
He had to have 25 tiny screws and a plate put into his arm to fix it. We go tomorrow to get the staples out and exrays to make sure its healing right. Then physical therapy.
Okay now on to better things. I needed to make a birthday card for my great-great-niece so I decided to make a pop-up- box card. I searched u-tube until I found the one that I liked. This is the video that I decided to go with. Sandi Maciver is the lady and she goes step by step on how to make this card. I don't have Stampin up products, so I went to cds and search for what she used on my cricut carts and found some things to use. I sized everything to fit on my card.
https://www.youtube.com/watch?v=DmODC...Here are the pictures of my finished card. I like the way it came out.
There is a place on the back to write on. thanks for looking and have a great Sunday,
Thursday, June 18, 2015
Graduation
I'm back with another post this week. I needed to make 2 graduation cards and I was searching u-tube for ideas and came across Debra from dinglefoot.com had made a graduation cap and tassle.
I liked the way the card looked so I decided to make two.
The cards are 5x5 The tassles are made from embroidery yarn. The stamp that I used if from CardzTV.
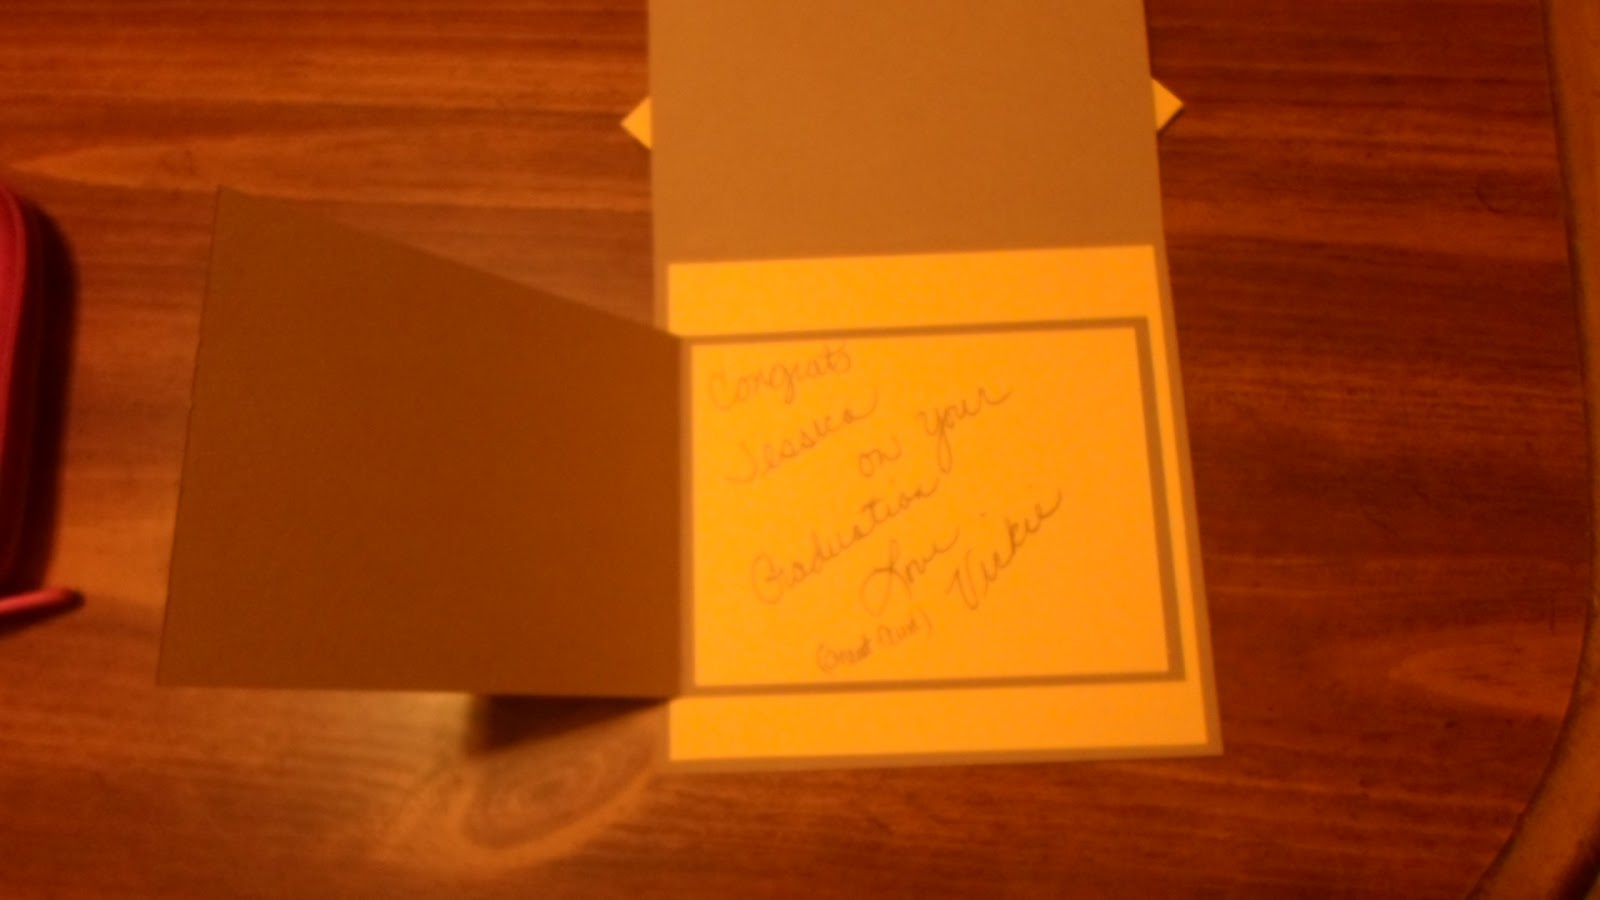
This is the inside of the cards.
I decided to make a card for the inside also. I used the cart called RECESS for the cap and diploma.
I had a lot of fun making these. Thanks for stopping by and have a great week
I liked the way the card looked so I decided to make two.
The cards are 5x5 The tassles are made from embroidery yarn. The stamp that I used if from CardzTV.
This is the inside of the cards.
I decided to make a card for the inside also. I used the cart called RECESS for the cap and diploma.
I had a lot of fun making these. Thanks for stopping by and have a great week
Sunday, June 14, 2015
My New Great-granddaughter
Its been awhile since I last posted. I haven't really been crafting much. I have lots of projects that I want to do and I have all the materials that I need for all the projects, now I just need to start on them.
First off I want to introduce you to my new great-granddaughter. She arrived at 12:36Am June 13th
weighing in at 6lb 13oz 18" long. the picture below was taken about 15 minutes after she was born.
This is Pheonix Rain Riley She looks like her older brother.
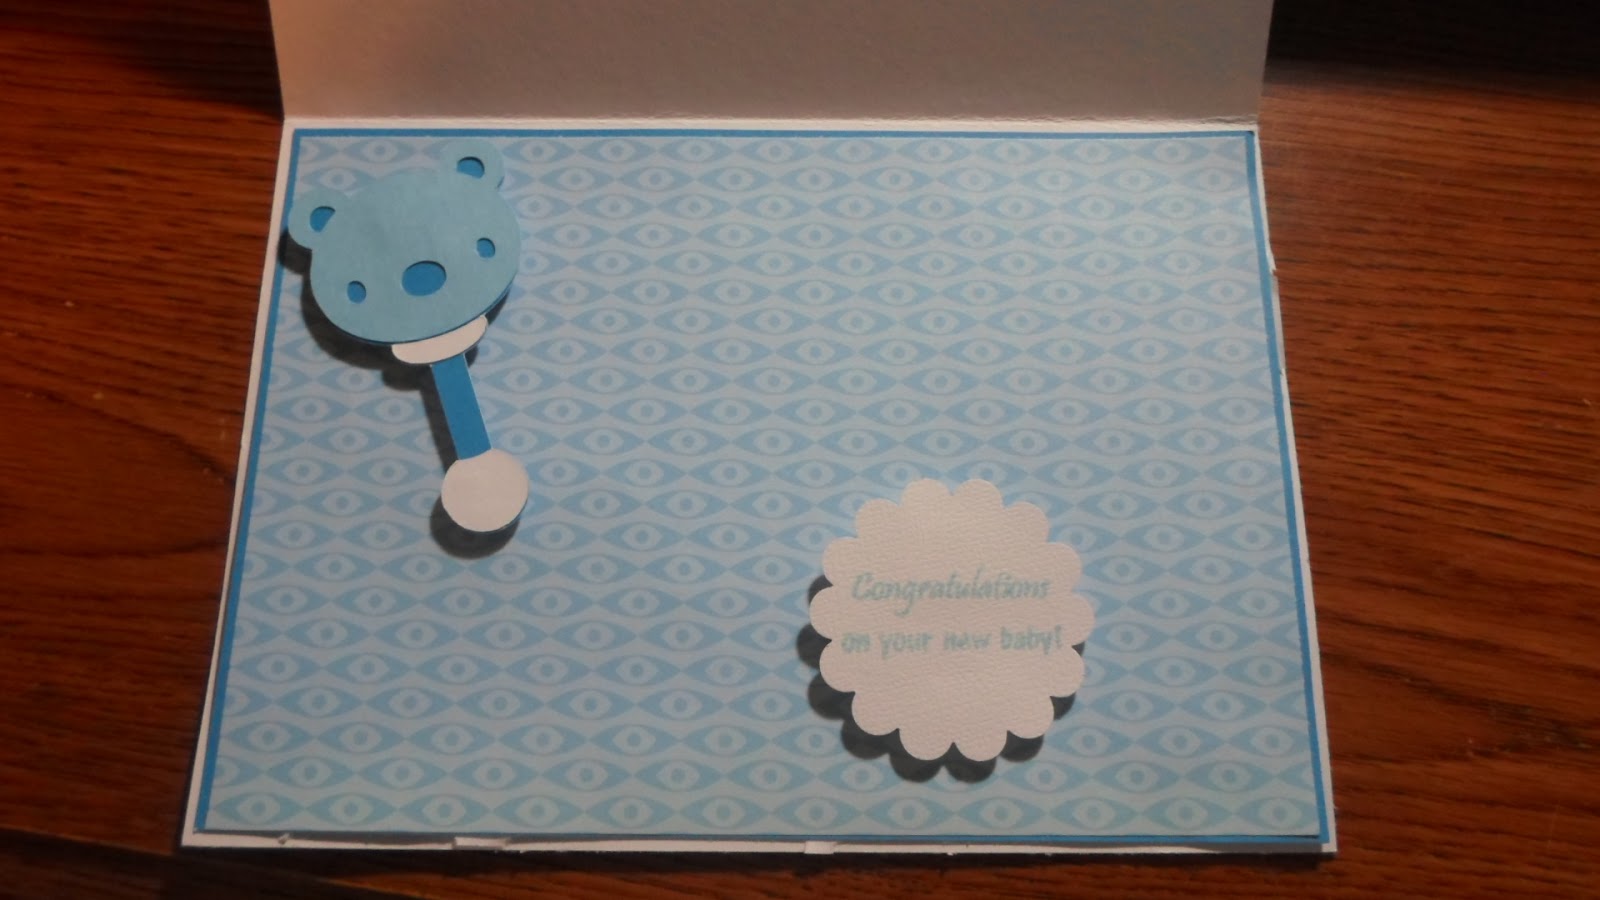
Next is my baby card that I made watching a video. Sorry I can't remember you I was watching to learn how to do this style of a card, but I want to thank her and give her credit. It was easy once you get the cuts right. Its called a Block Stair Step card.
I used my Explore for cutting the stork, and the print and cut feature for the scalloped baby circle.
I used a CARDZTV stamp CONGRADULATIONS ON YOUR BABY. I used some stickers also that I had in my stash. This one is for a boy.
I really like the way it turned out. I plan on making more of these as soon as I find the video of this type of cards.
Thanks for looking and have a great week.
Vickie
First off I want to introduce you to my new great-granddaughter. She arrived at 12:36Am June 13th
weighing in at 6lb 13oz 18" long. the picture below was taken about 15 minutes after she was born.
This is Pheonix Rain Riley She looks like her older brother.
Next is my baby card that I made watching a video. Sorry I can't remember you I was watching to learn how to do this style of a card, but I want to thank her and give her credit. It was easy once you get the cuts right. Its called a Block Stair Step card.
I used my Explore for cutting the stork, and the print and cut feature for the scalloped baby circle.
I used a CARDZTV stamp CONGRADULATIONS ON YOUR BABY. I used some stickers also that I had in my stash. This one is for a boy.
I really like the way it turned out. I plan on making more of these as soon as I find the video of this type of cards.
Thanks for looking and have a great week.
Vickie
Wednesday, May 20, 2015
Mini Frame shadow box
I received an email from Michaels for the Door buster sale that they will be running ( didn't read all of it so I can't remember what day) and on the site they had a mini Frame shadow box and the directions on how to make it.
I didn't have any of the materials to make one, so I made my own from a Graphic45 Mixed Media Box. It measures 5x5x2". I covered the box with pattern paper. Its a K&Company Specialty paper stack. the top was cut out, so I placed my pp and trace around so I would be able to cut my pp in the right spot that I needed for the opening.
My Rose is from the cricut cart Flower Shoppe cut at 9" and then rolled. I made a stand for my rose to sit on to bring it closer to the opening. I put a glue dot on the bottom of my rose to hold it in place.
I used some bling that I had in my stash on the front also. I put a piece of wire on the back to be able to hang it up on my wall.
Thanks for looking and please leave a comment on what you think.
Sorry I forgot to load the picture. thanks Brenda for letting me know. DUH I knew we were related. LOL
I didn't have any of the materials to make one, so I made my own from a Graphic45 Mixed Media Box. It measures 5x5x2". I covered the box with pattern paper. Its a K&Company Specialty paper stack. the top was cut out, so I placed my pp and trace around so I would be able to cut my pp in the right spot that I needed for the opening.
My Rose is from the cricut cart Flower Shoppe cut at 9" and then rolled. I made a stand for my rose to sit on to bring it closer to the opening. I put a glue dot on the bottom of my rose to hold it in place.
I used some bling that I had in my stash on the front also. I put a piece of wire on the back to be able to hang it up on my wall.
Thanks for looking and please leave a comment on what you think.
Sorry I forgot to load the picture. thanks Brenda for letting me know. DUH I knew we were related. LOL
Wednesday, May 6, 2015
Up Date and Cards.
Prayers were answered today for My Son-N-Law Mike. The doctor said that he has gotten all the cancer when he did Mike's Surgery. The tested or what ever they do with the lymph nodes and they are were clear, all 67 of them. They removed some of the staples but there was a leakage when they did an exray of his throat. The Doctor said that with this type of surgery that Mike had it usually happens. So another week with the feeding tube and next Wednesday when he has to go back they will try a sip of water to see how he does. So still asking for prayers, but so far everything is good. He will have to have 6 weeks of radiation, but he's ready.
I have been watching my youngest grandson, but I'm still crafting when ever he lets me of course. He turned 2 last Friday and he is a VERY busy little boy. Loves to be outside and I have a very big yard for him to play in.
Also here is an up-date on my baby birds that are in a planter hanging on my front porch.
This is the momma and she squawks every time I walk past them. In fact she swoops down and of course I duck. You would think by now she would know that I'm not going to hurt them.
And here are the babies. They are almost to big for the nest. They are growing.
Now for my crafting, here is what I'm doing. I love to watch videos and to craft right along with the person that is doing the video. I found this u-tube channel with Schell Fabian (babytweetums). She does this Mickey & Minnie card series and I wanted to follow along and make the cards. I will post the pictures then explain what I did in DS with my Explore.
I have been watching my youngest grandson, but I'm still crafting when ever he lets me of course. He turned 2 last Friday and he is a VERY busy little boy. Loves to be outside and I have a very big yard for him to play in.
Also here is an up-date on my baby birds that are in a planter hanging on my front porch.
This is the momma and she squawks every time I walk past them. In fact she swoops down and of course I duck. You would think by now she would know that I'm not going to hurt them.
And here are the babies. They are almost to big for the nest. They are growing.
Now for my crafting, here is what I'm doing. I love to watch videos and to craft right along with the person that is doing the video. I found this u-tube channel with Schell Fabian (babytweetums). She does this Mickey & Minnie card series and I wanted to follow along and make the cards. I will post the pictures then explain what I did in DS with my Explore.
This a gate fold card. I took circle and made it 1" and the ears a little smaller and welded them together to make my Mickey and Minnie face. The sentiments are written using the write feature. I used the artiste cart for one of the sentiment and the other one is from Elegant Edges cart. I like the way they came out and also my Mickey and Minnie heads. the bow for Minnie was in my stash.
Thanks for stopping by and looking and I know this was a long blog, but had a lot to say. Hope everyone has a great rest of the week and a great weekend. Happy Mother's Day to all my blogger friends.
Subscribe to:
Posts (Atom)